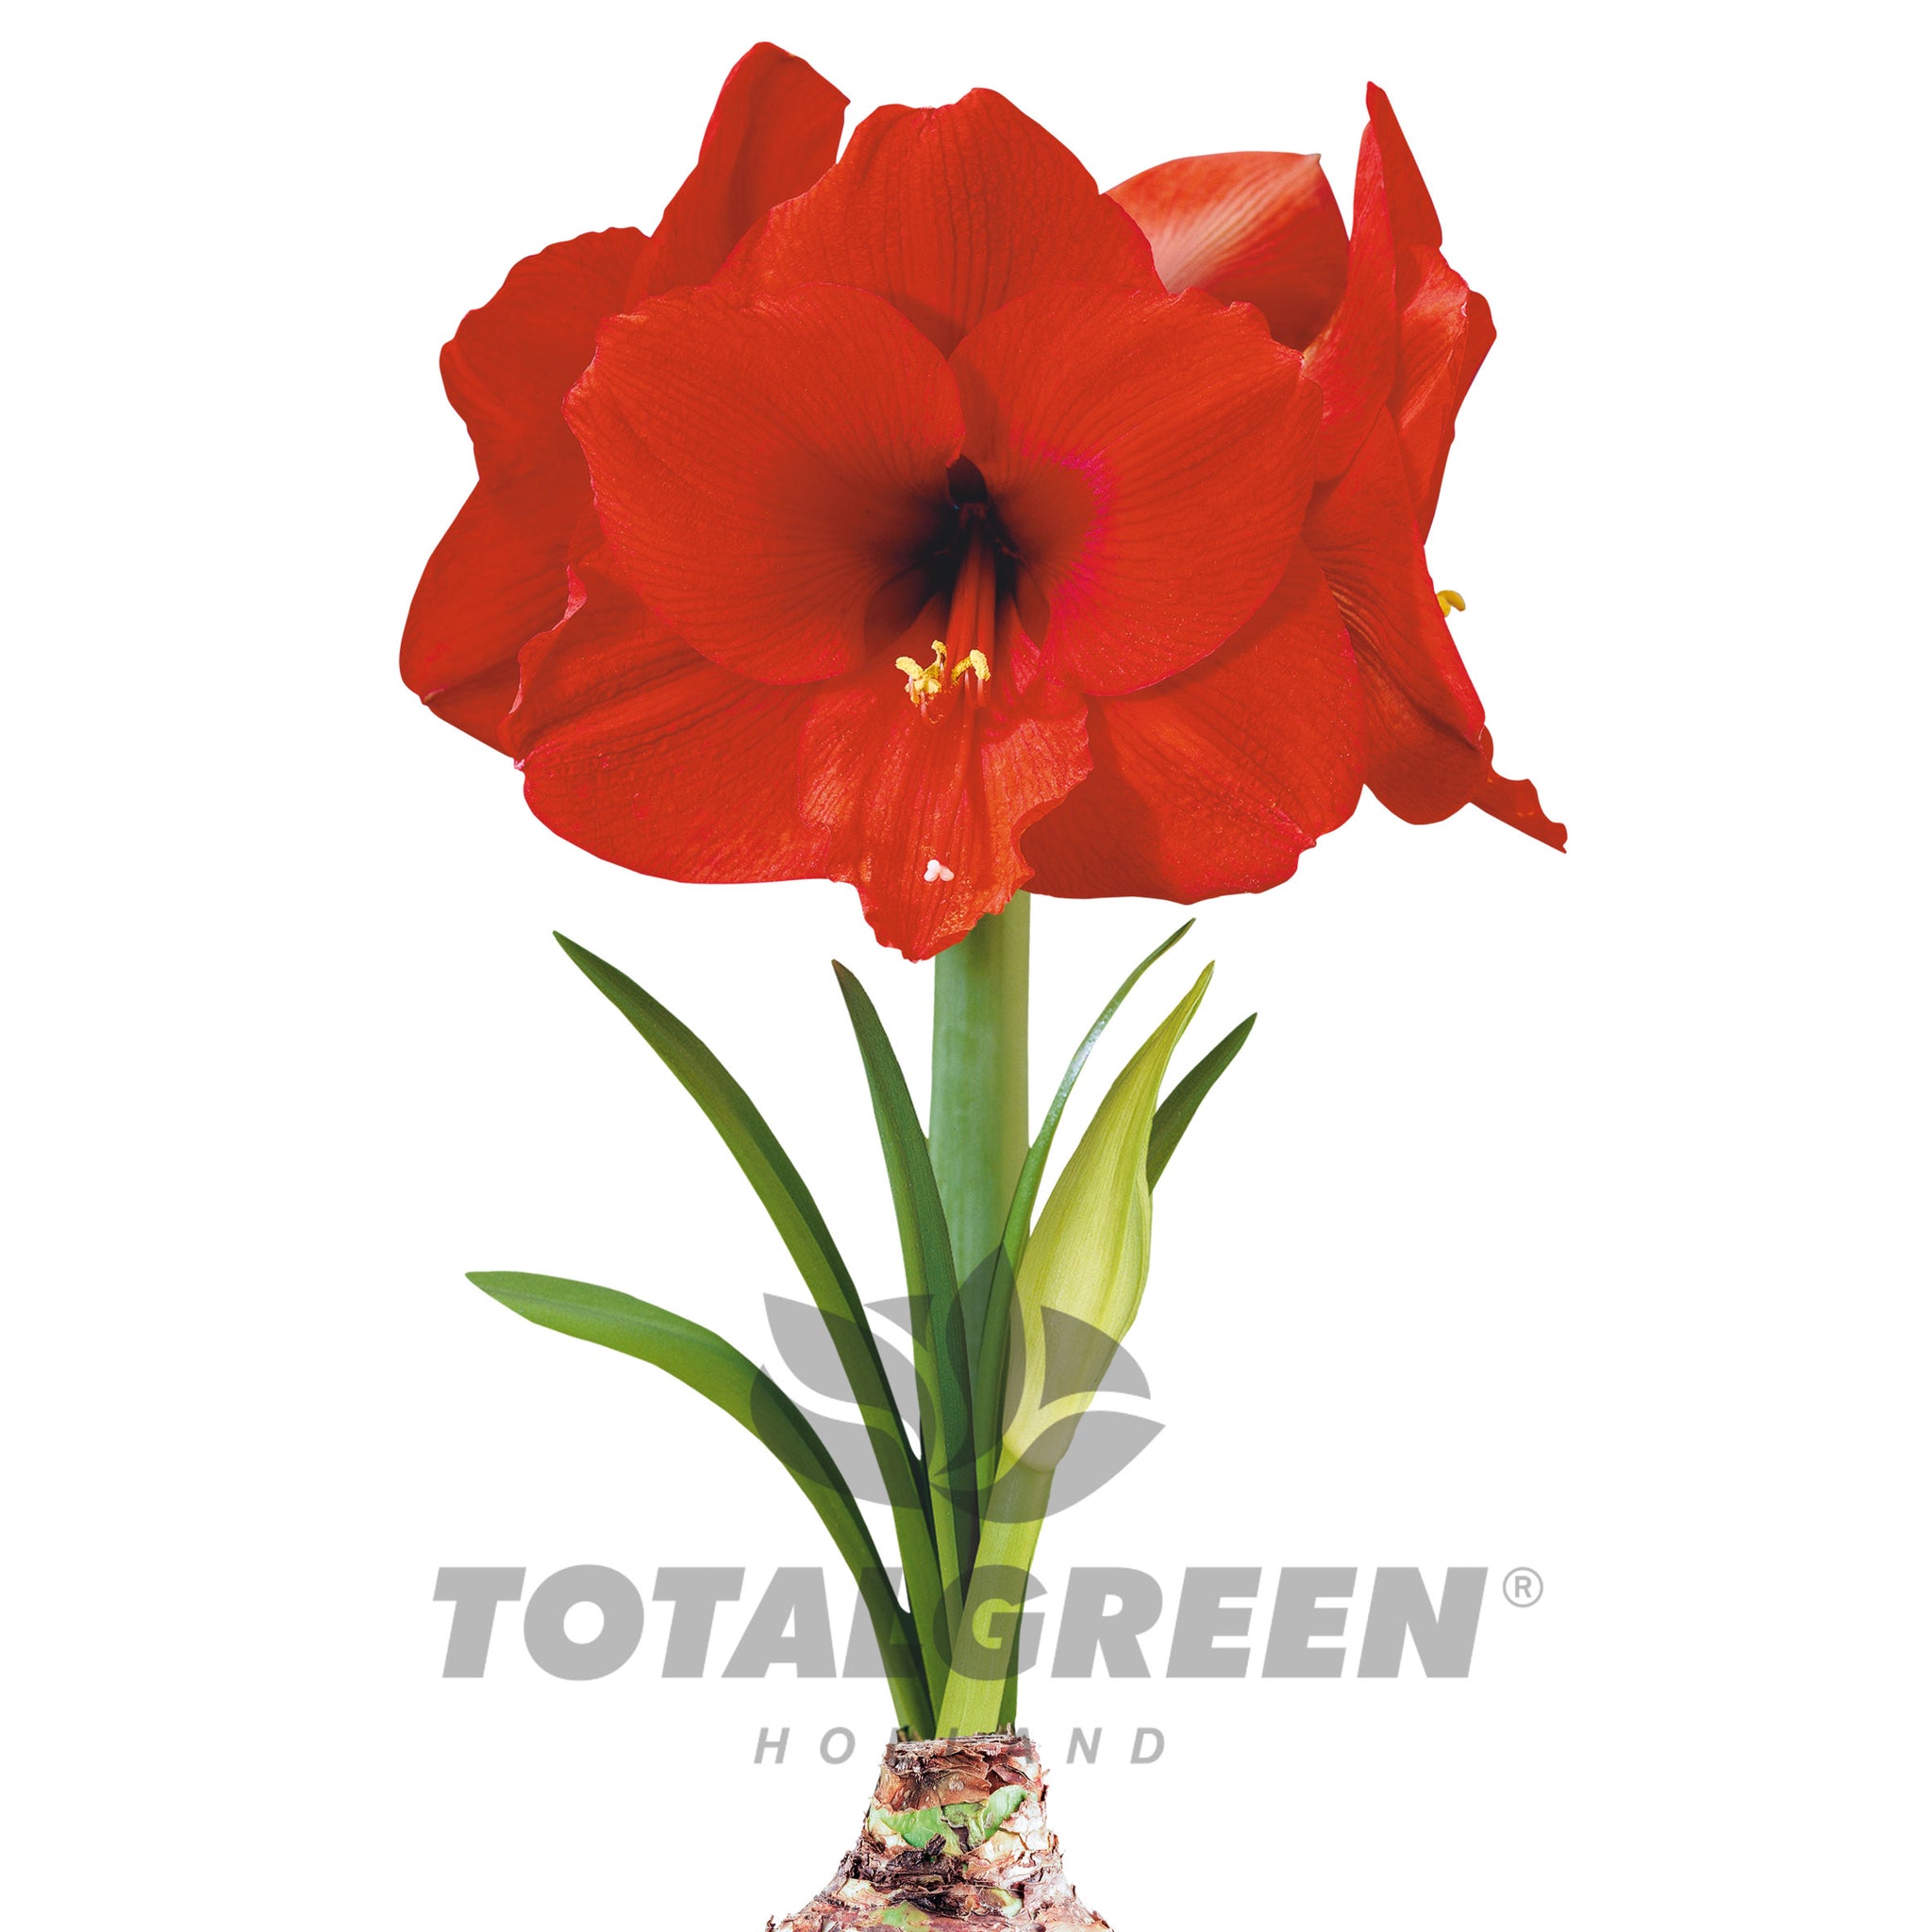
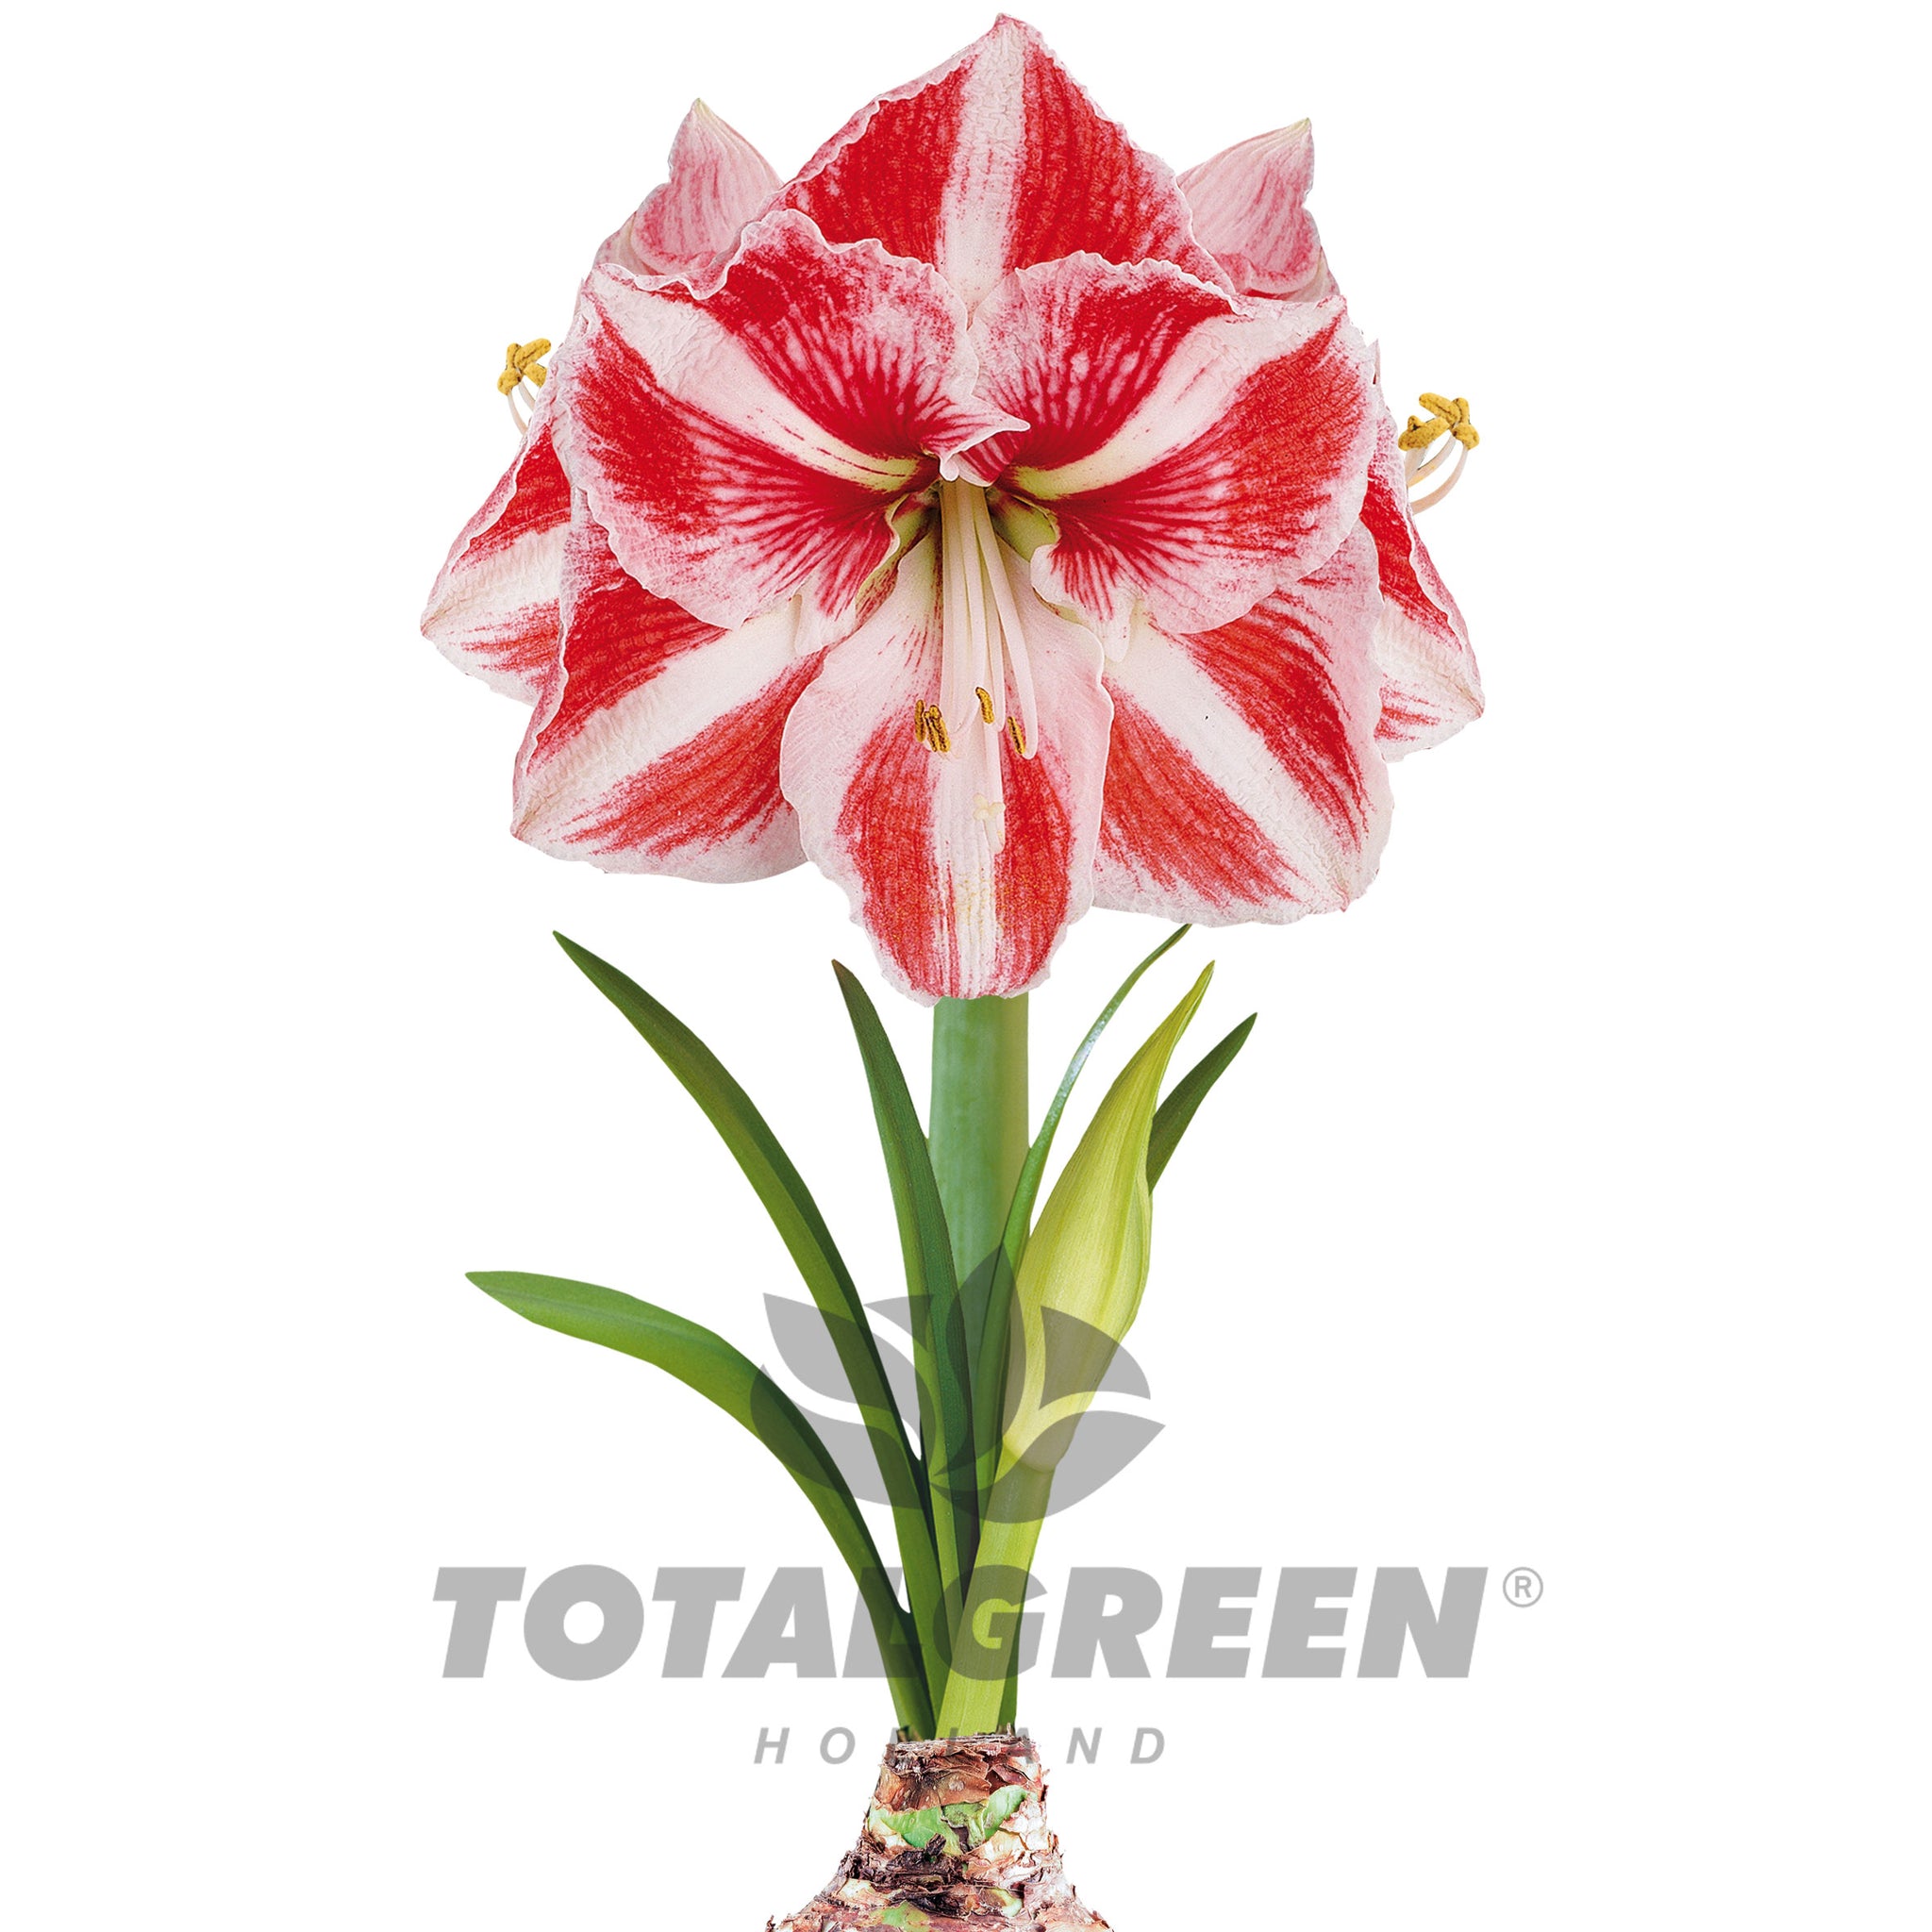
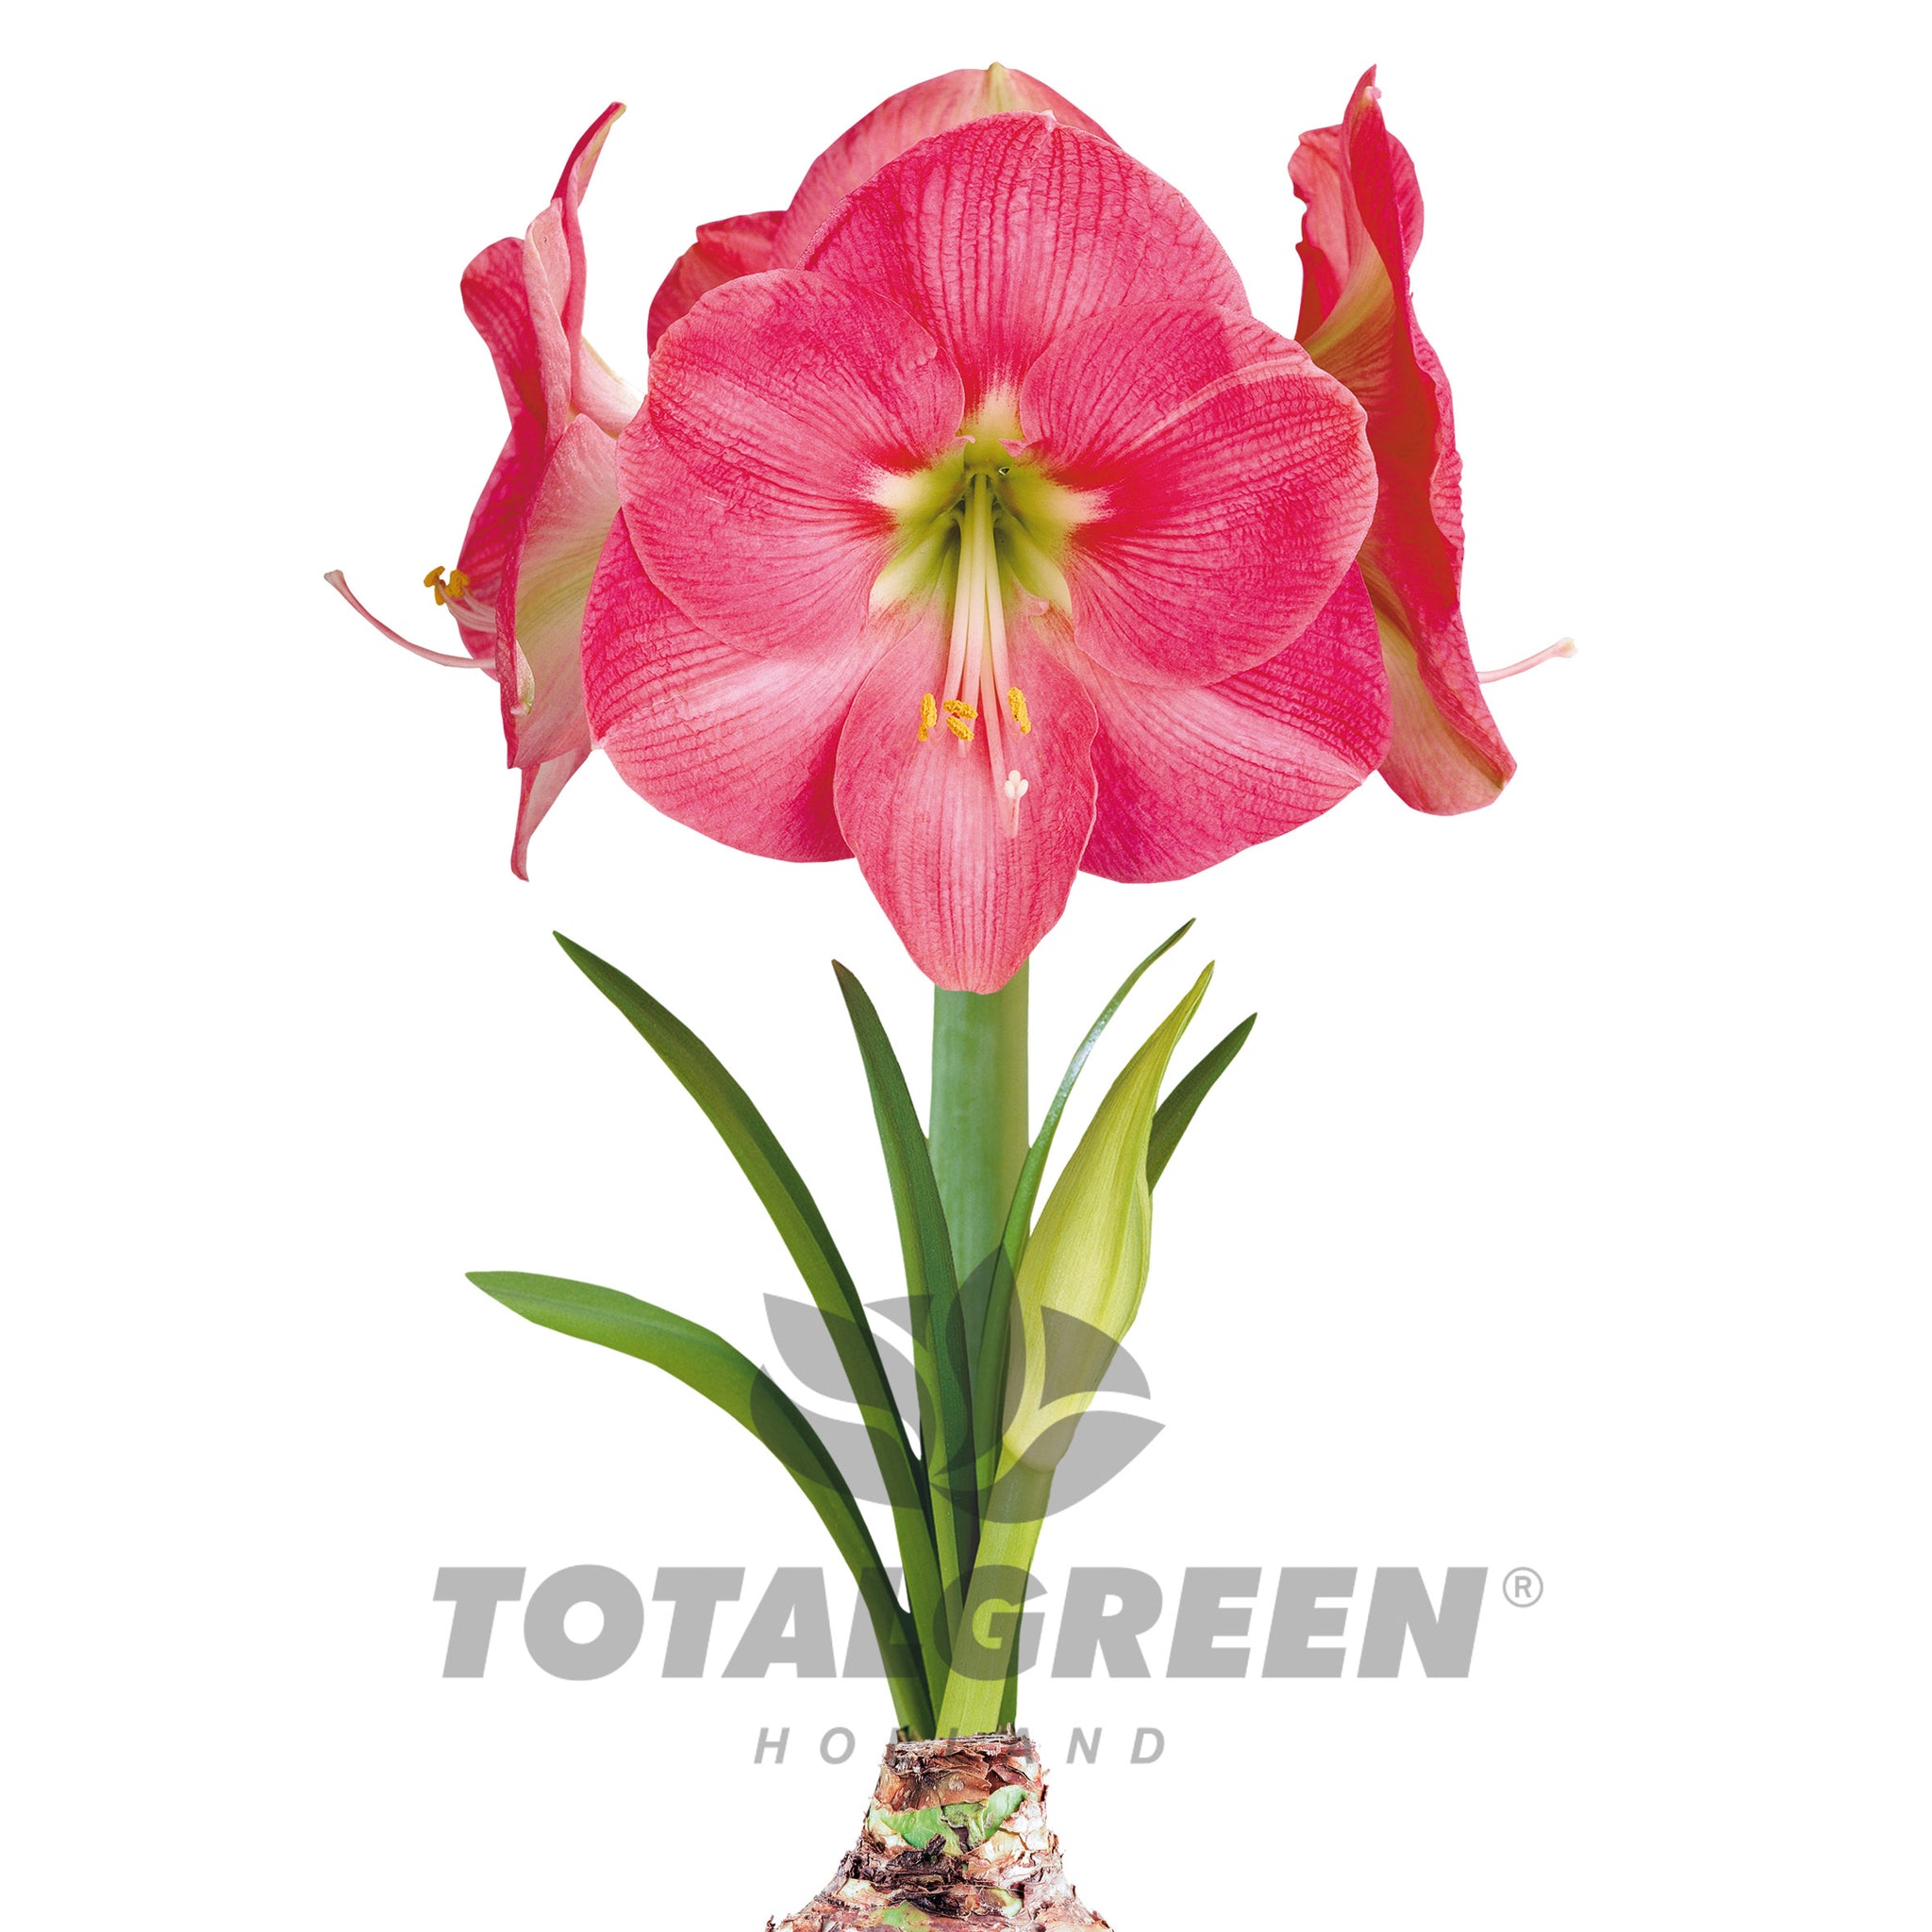
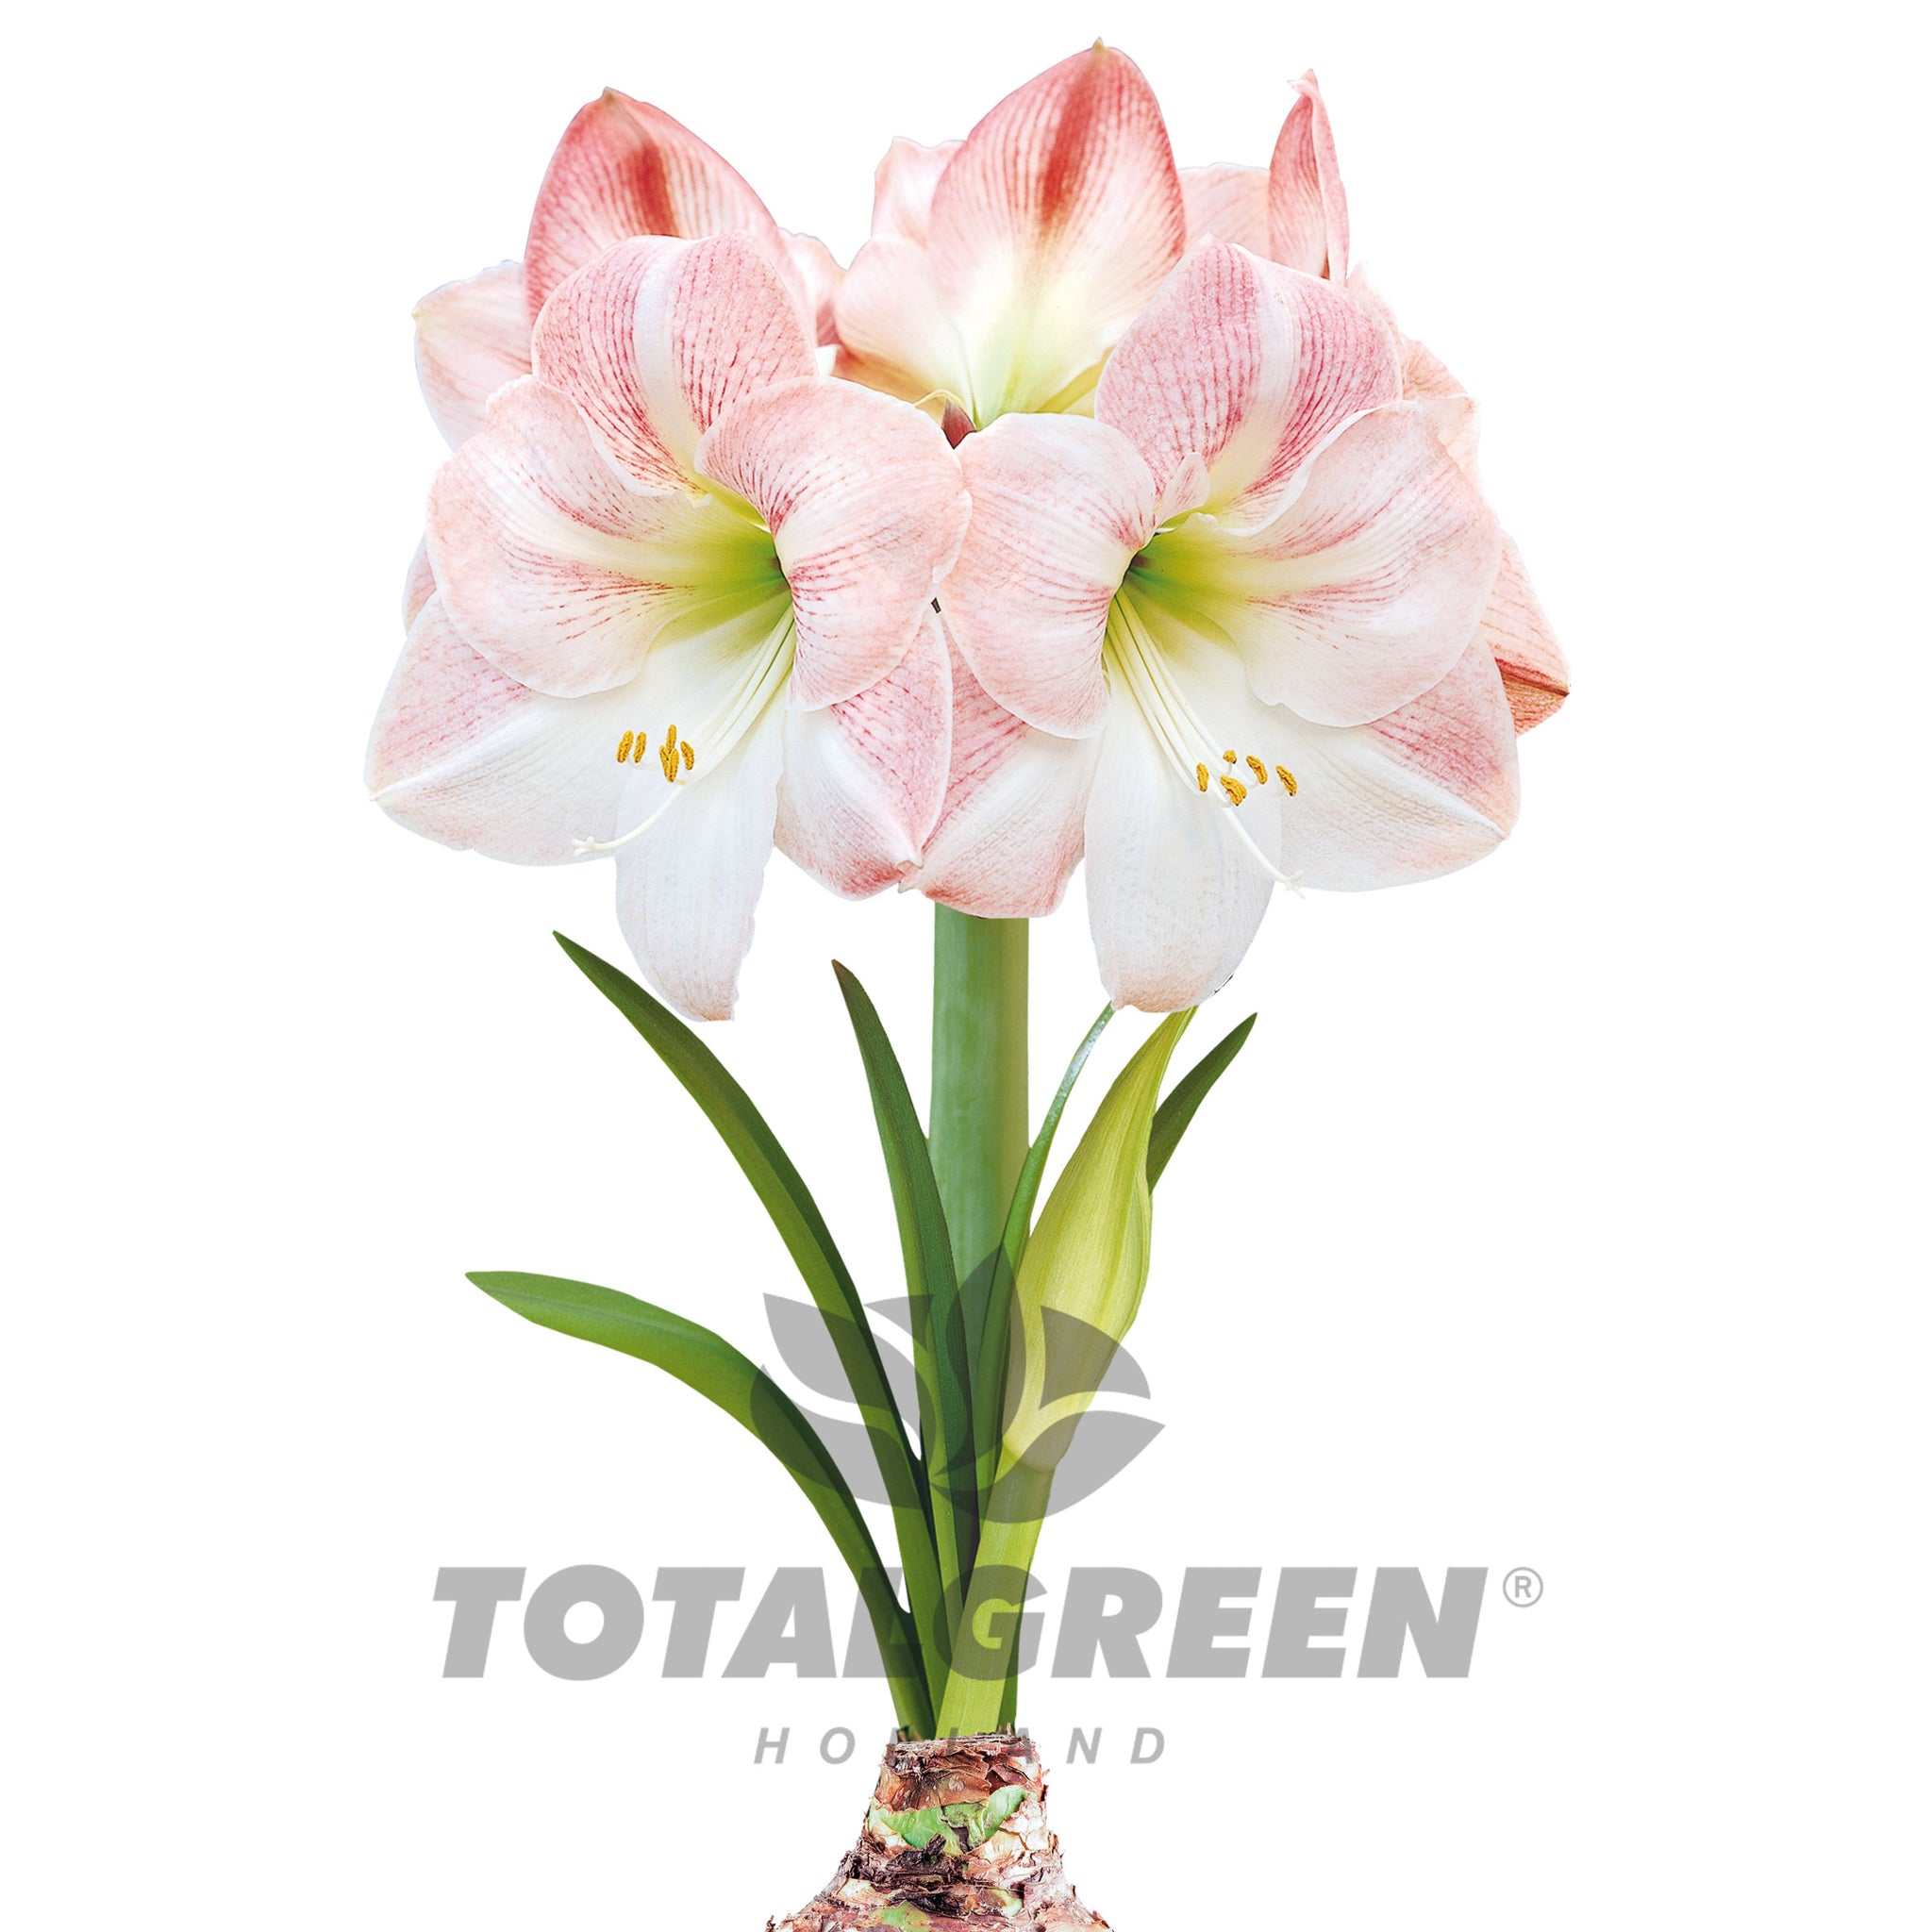
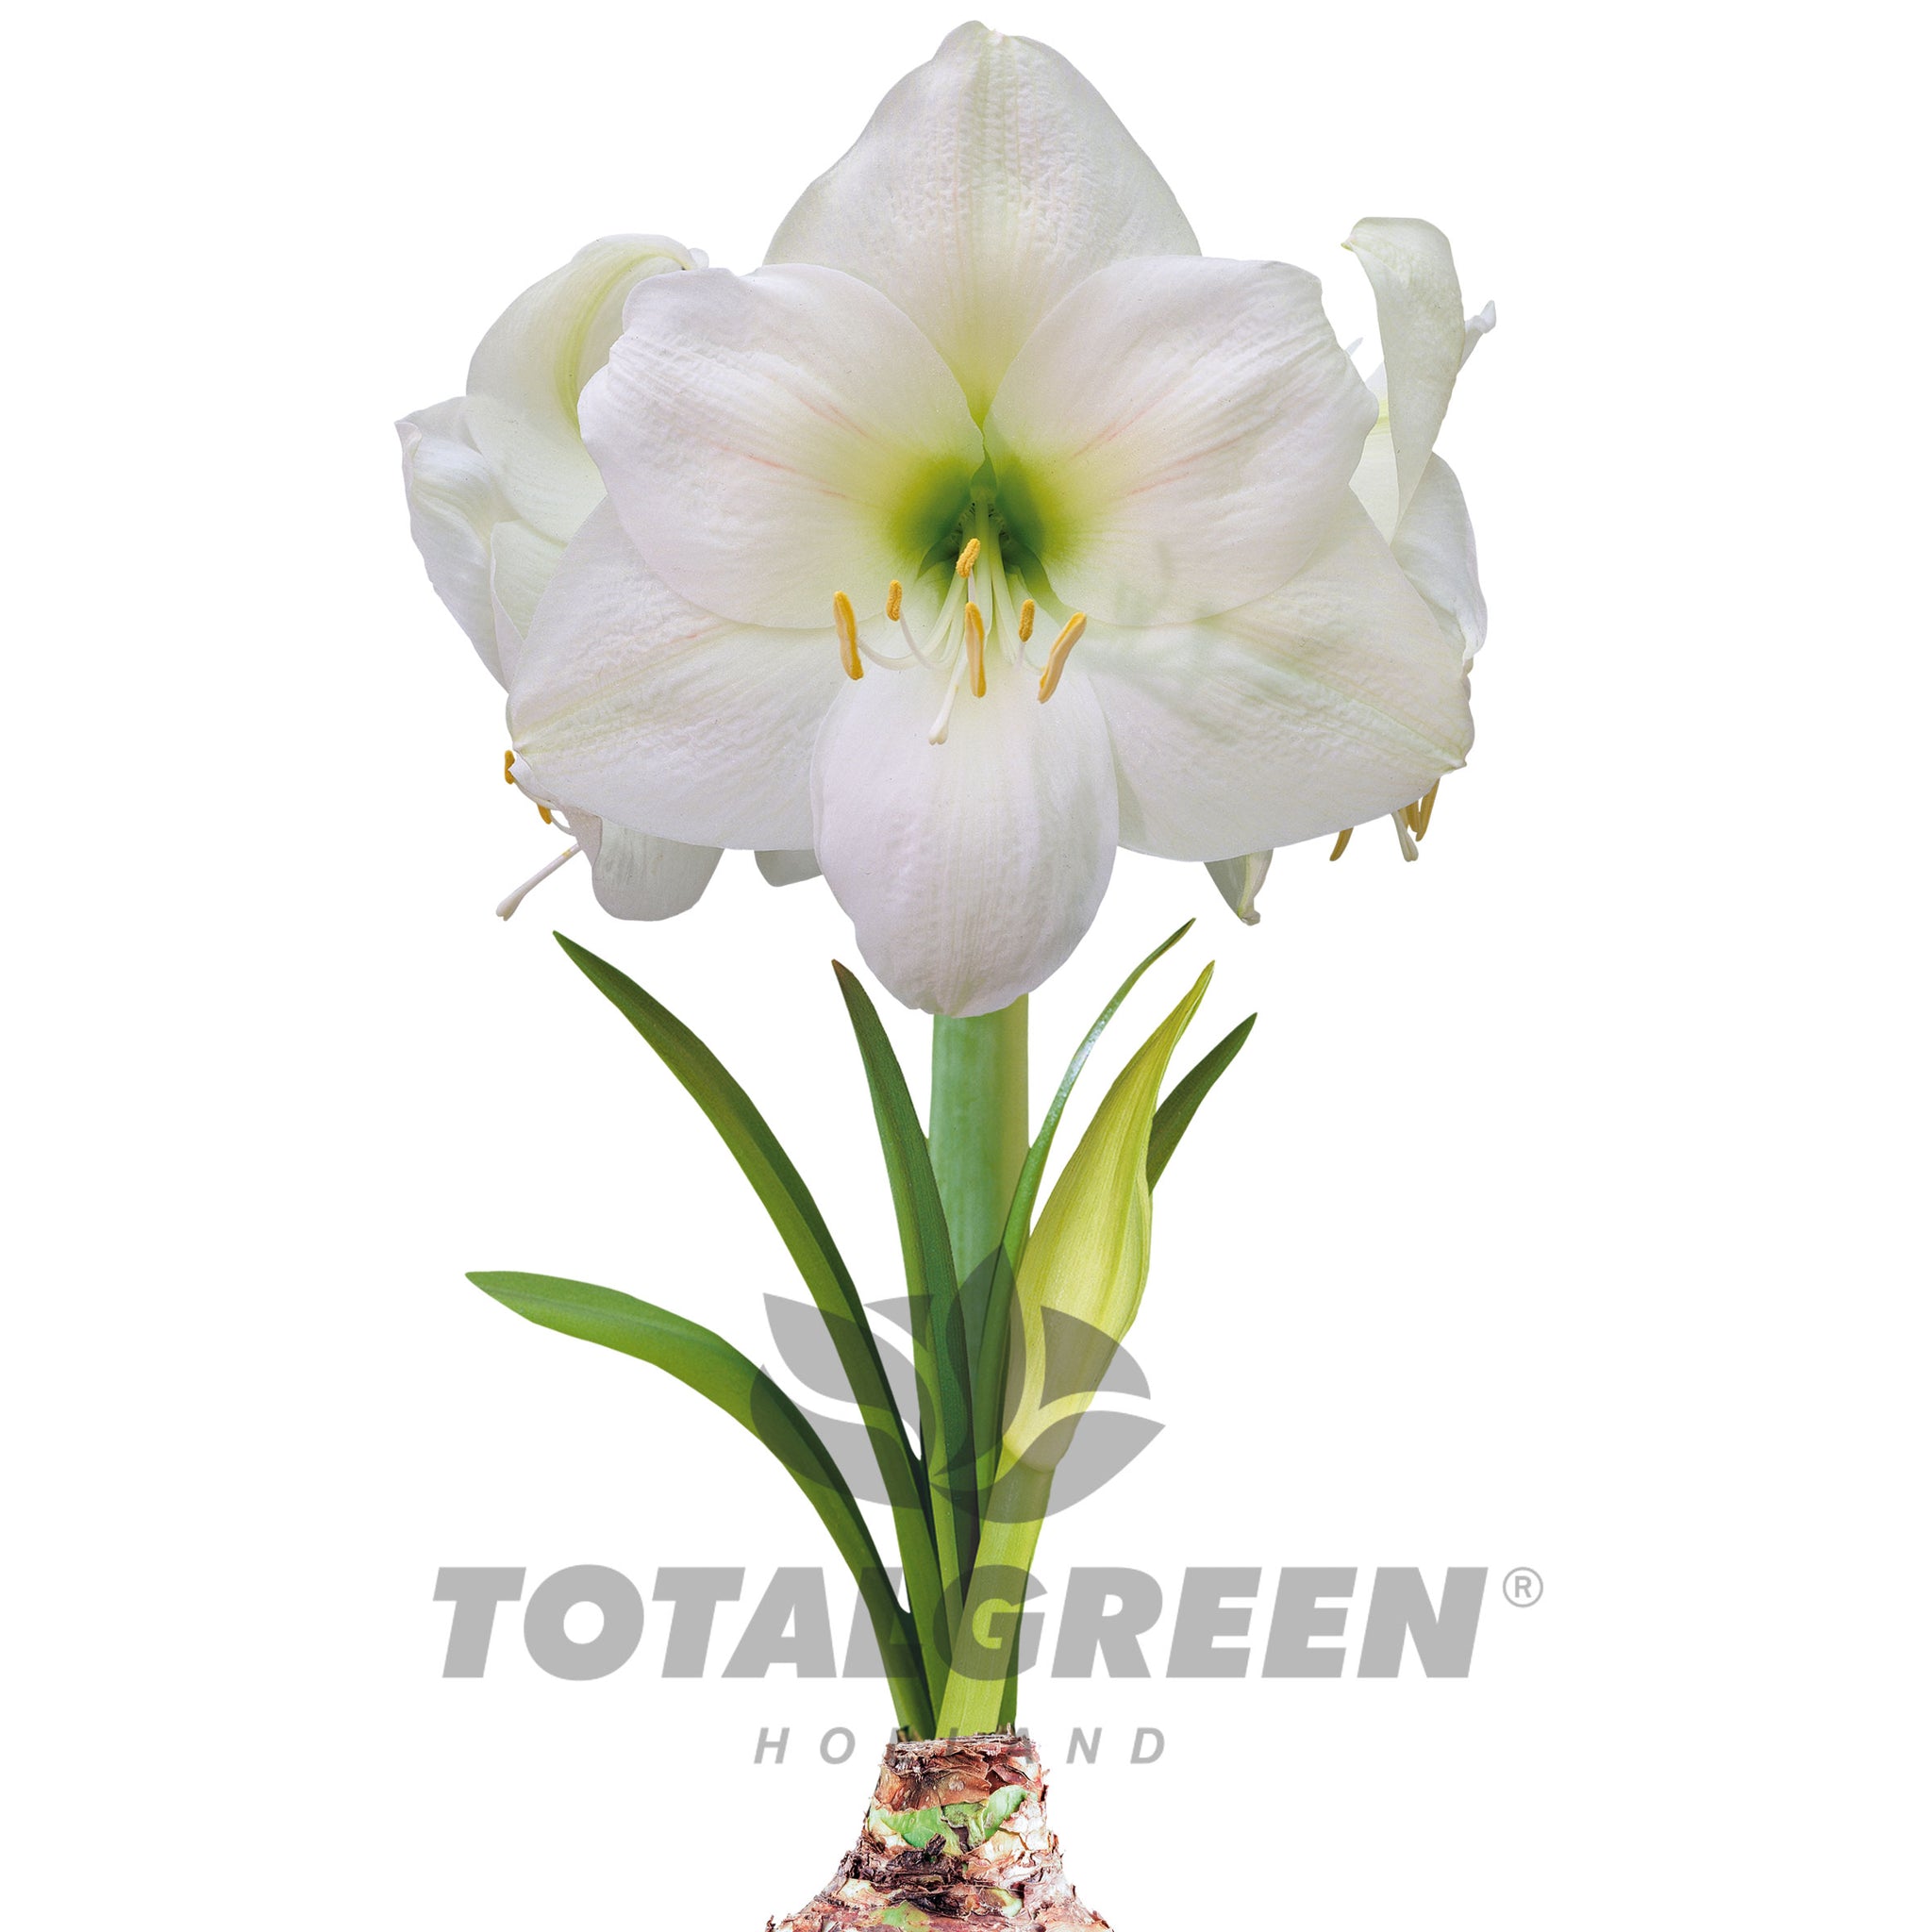
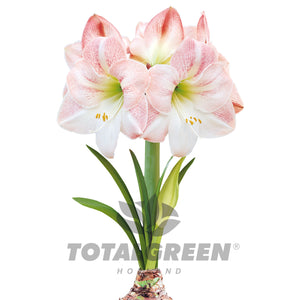
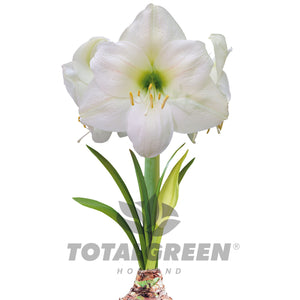
Ideal for CONTAINER PLANTING
Amaryllis Grow Kit
Growing Instructions for Amaryllis: before planting, immerse the bulb in lukewarm water for an hour; this encourages the formation of roots.
1. Drop grow mix (coco disk) in container; slowly add 2.5 cups of warm water (20 fl. oz. or 0.6 liter). Stir mixture to aerate and drain if necessary.
2. Place bulb in the grow mix, tip facing up. Add the grow mix around bulb, keep neck (1/3 of bulb) above the grow mix.
3. Do not add water until the flower bud starts to appear. As soon as the flower bud appears, the soil will need to be kept slightly moist. Use tepid water.
4. Place pot in warm and light location, 21˚C / 70˚F. Blooms in 4-8 weeks after planting.
When the flowers bloom, keep out of direct sunlight to prolong the flowering period. As the stems grow, change the direction of the planter occasionally to keep the stems from leaning towards the light. It may be necessary to support the stems and flowers so the plant will not topple.
Store in a cool dry place until ready to plant. Plant as soon as possible after purchase, best within 2-4 weeks.
Can't get the flower to (grow a stem and) bloom or does it produce green leaves only? Try moving the bulb to a dark and cool (not freezing) room for 2 weeks and then move it back into your living room. The significant change in temperature should encourage the bulb to start growing the stem.
Caution: Do not eat ornamental bulbs. Protect all surfaces from product as condensation, staining or scratching may occur.
How to care for Amaryllis once they have bloomed?*
Once the Amaryllis has bloomed you can attempt to get them to bloom again the next fall or winter. However, it’s important to strictly follow the directions to give yourself the best chance to succeed.
When the blooms of the Amaryllis have faded, cut off the flower stem(s) until approximately 1/2’’ from the bulb. Be sure not to cut off the leaves and place the plant in a sunny window so that the leaves can gather light, photosynthesize and provide nourishment to the bulb. Be sure the soil remains lightly moist.
During late spring and early summer its important that the Amaryllis will be placed outside in a sunny spot where the night temperature won’t drop below 50 degrees. Be sure to take the Amaryllis out of the pot when there are no drainage holes as it will fill up with water when it rains, resulting in a rotten bulb. Don’t forget to add the regular fertilizer that you use for the rest of your garden.
When its early-mid autumn, be sure to bring the Amaryllis back inside before the first frost. Cut off all the foliage approximately 1’’ to 2’’ from the top of the bulb and place the bulb in a dry and dark place like a basement or closet. This is the time you try to force the bulb to rest (a couple weeks of dormancy before the new growth cycle will start) so don’t water at all.
After ten to twelve weeks of dormancy its time to start the growth cycle all over again just like you did when you planted your Amaryllis the first time. Replace the soil with fresh soil and remove any dead leaves and old/peeling bulb sheaths, these should be on the outside of the bulb and easily come off. Then replant the Amaryllis just like you’ve done in step 1 and be sure to add a good amount of water to encourage the Amaryllis to ‘wake-up’ and grow again.
*Please note that we do not guarantee that this product will bloom for a second time.
Search codes: TG206, TG220, TG222, TG224, TG226, TG270, TG272

